To go along with our skeletal system lesson, we did some creative activities. I’ve just now had a chance to post them, but they go with this post here: Science Lesson on Skeletal System
First we made Mr. Bones. The kids loved cutting out the pieces and we hooked them together with brads. (Okay, we don’t have brads. Instead, i took twist-ties – from bread wrappers, from the produce section at the grocery store, from a package of trash bags – cut them in half, and formed them like a brad.) I hung our skeletons on the wall and the kids enjoy moving them. Mr. Bones was almost as tall as my 7-year-old, which made him not only realistic, but also fun.
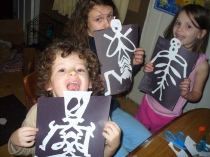
We have been working on handwriting, so this cursive lesson was perfect. We folded a sheet of white paper and then the girls wrote their names in cursive along the fold. I did TJ’s for him, because after he saw that the girls made Mr. Bones, he wanted to join us for school. We cut out our names, even in the holes of letters, making sure to keep the fold intact. When the paper was opened, it became the body of a skeleton. The kids cut out skulls, arms, and legs to add to their picture. I got this idea from Pinterest.
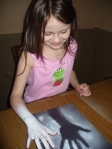
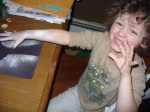
Next we did a fabulous art project that resembled an x-ray of a hand. I mixed and matched some different art projects that i found on Pinterest for this one, and it turned out beautifully. I put some white tempera paint in a spray bottle and added a little water to water it down. Then i had the kids lay their hands on a sheet of black construction paper and i sprayed the paint on their hand. You read that right. I sprayed white paint on my children. They LOVED this. I mean, what child wouldn’t??
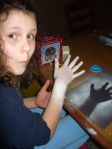
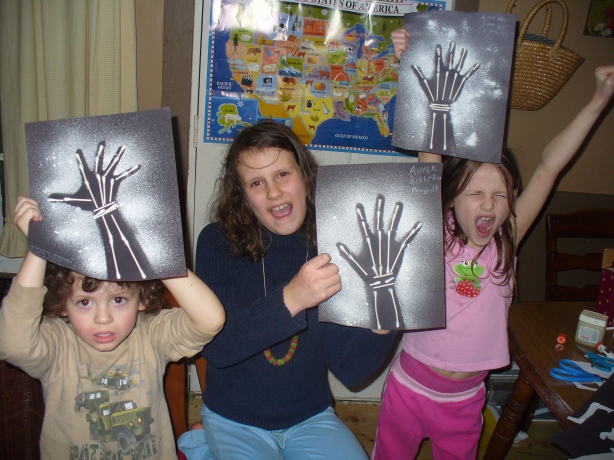
After washing up, we used glue and cotton swabs to construct the bones of our hand. My girls were able to cut the swabs to the right size, but i helped my 3-year-old, of course. However, he was able to glue the swabs where i showed him with no problem. My only regret is we didn’t do this before Halloween, because these look kinda spooky hanging on our wall.
One of the other things we did to help understand how the skeleton protects the body was make noodle necklaces. You can see Annie in the middle above with her pasta necklace. I gave my children a piece of yard and asked them to squeeze it in their hand. I asked them what happened to the yarn? Did it keep its shape? Then we talked about how the skeleton protects us. I compared the yarn to a spinal column and the pasta to the vertebrae in a spine. We then made our necklaces. We used wagon wheels, but only because that’s all we had that would fit the yarn i had. Next, i had the kids squeeze the necklace in their hand. Could they crush the yarn as they had before? (Of course not, silly, it’s surrounded by a pasta vertebrae!) We painted our pasta after we strung it to make pretty necklaces. We filled in the booklet that went with this lesson.
We are done with the skeletal system and are moving on to another body system now.
